
How Can We Help?
Source files allow you to attach relevant files (such as DWGs, RVTs, etc.) to a main or ‘child’ file.
This allows users to keep all important project assets organised in one place.
Admin users can configure the selected source file formats and set folder permissions to ensure that only authorised users can attach or view source files.
How to Configure Source Files
Open the relevant project and navigate to Project Settings.
Within Step 1, users can find “Source files formats” (see screenshot below)
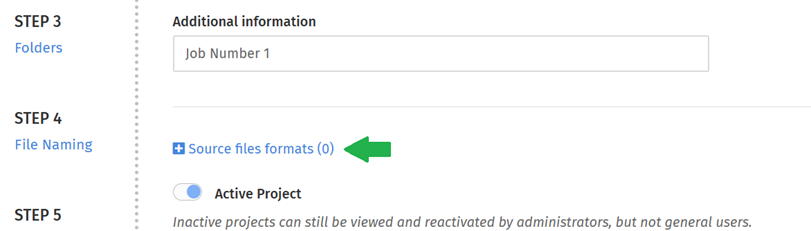
Expand this section and select which file formats should be treated as source files.
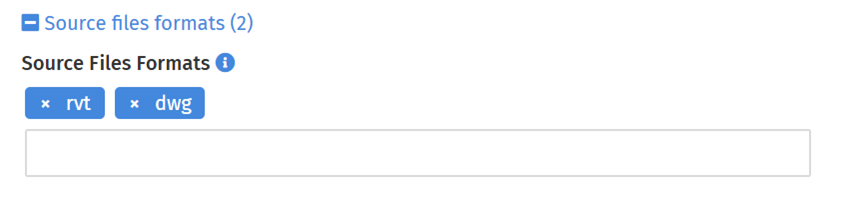
Files of these formats will not be displayed as regular files within Sherlayer’s File Vault and will instead be handled as source files. For information on viewing source files click here.
Granting permissions for source files
In Step 3 (“Folders”) of Project Settings, admin users can configure permissions for any folders that will contain source files. This allows admins to ensure that the user groups who require the ability add or manage source files have the appropriate permissions.
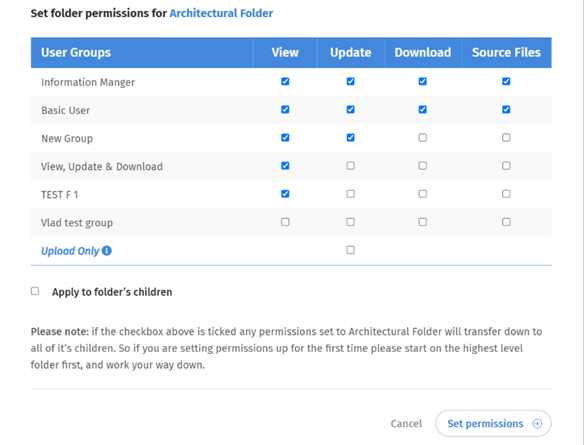
Permissions are managed in the same why as View, Update and Download permissions for folders and user groups.
How to Attach Source Files
There are two ways to attach source files:
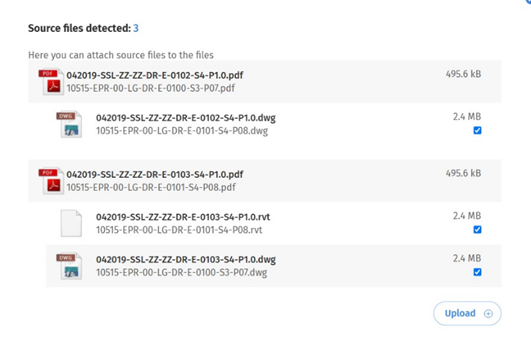
Option 1 – By Uploading Files with Matching Tags and BIM Number
If you upload a new file that shares the same tags or naming conventions (i.e. the only difference is the file format or revision) and is a file format you have configured as a source file, Sherlayer will recognise this as a source file and offer the option to attach.
For instance, if you have the following files:
- 10515-EPR-00-LG-DR-E-0101-S4-P08.dwg
- 10515-EPR-00-LG-DR-E-0101-S4-P08.jpg
- 10515-EPR-00-LG-DR-E-0101-S4-P08.rvt
and you have configured .dwg and .rvt as source formats, then the .dwg and .rvt files will appear in your source file selection whereas the .jpg will not.
Option 2 – Manually within the File Vault
Locate the Parent File in the File Vault
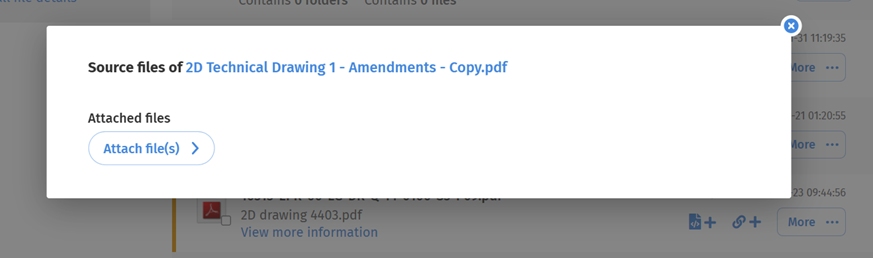
Within the File Vault, locate the file to which you want to attach source files to. Assuming you have source file permissions, access the source files window by clicking the icon (see below).

Within the source files window, select “Attach File(s)” to open the file selection window.
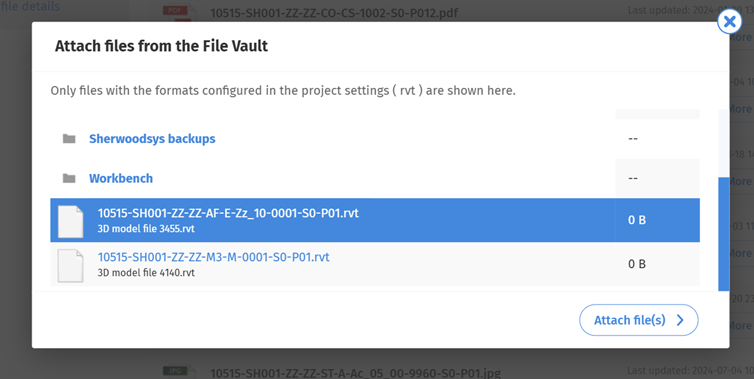
Note that only the file formats configured in your Project Settings will appear as selectable options.
Select one or more files, then click Attach Files.
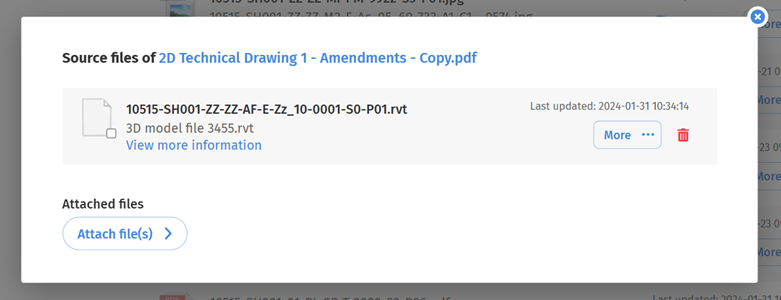
The selected files will now appear as source files.
How to View Source Files
Once source files have been attached, you can view them by clicking the Source Files icon associated with a file in the File Vault.

This will display a list of all source files linked to that parent file.

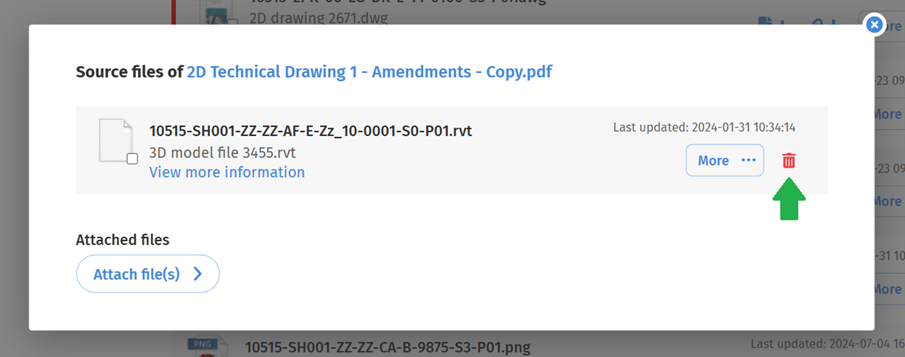
How to Remove (De-link) Source Files
If you wish to remove a file from being a source file, click the corresponding bin or X icon next to that source file.
This action does not delete the file from your project; it simply detaches it from the parent file.