
How Can We Help?
Setting up a Project
To create a project first go to Settings, found on on the top navigation menu. You will be brought to the settings page. Click on manage project and then create a new project. You will be brought to the project set-up page.
Once in the project set-up page you will be presented with six different steps.
In step-1 you will be able to name your project and BIM mandate the project. To BIM mandate a project, scroll to the bottom and choose the BIM aspects you would like to include.
Once completed, proceed to step-2 to import users (and groups), folders and permissions from an existing project, you can do so by selecting a project from the list presented or start from scratch for a new project and skip to step 3.
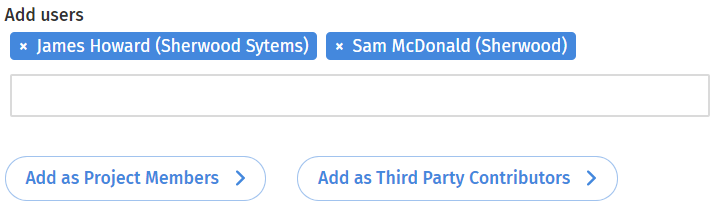
Step-3 allows you to add users to the project from your full-user list (See how to add users article). You will be able to add users as project members or third party contributers, the later only able to upload files and not view. To do so type the name of the user you wish to add into the search bar, multiple users can be added at once, and then click either Add as project members or Add as thrid party contributers.